A sewer camera inspection is a straightforward, non-invasive procedure that typically takes 30 to 60 minutes for a standard residential lateral. A technician inserts a waterproof camera into your sewer line through a cleanout or toilet access point, advances it through the pipe to the municipal main, and watches a live video feed that shows exactly what is happening inside the line. You will know what condition your sewer pipe is in by the time the technician packs up — including the location, depth, and nature of any problem areas. There is no digging, no mess beyond what the camera brings back out with it, and no guesswork about what needs to be done next.
Before the Inspection Begins
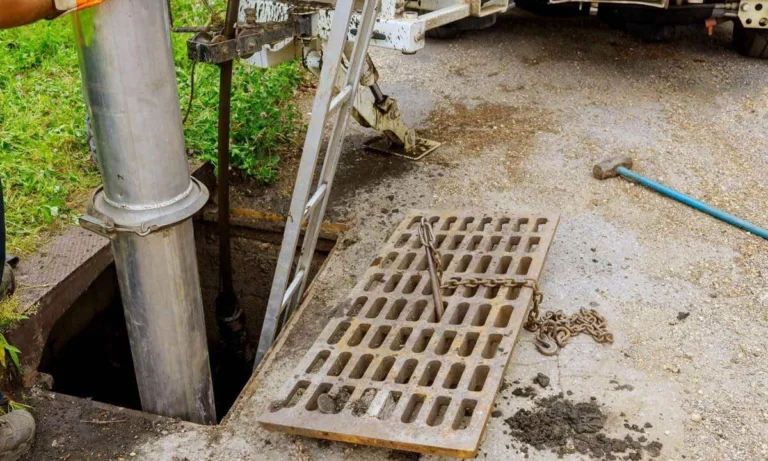
The technician will ask whether you have a sewer cleanout and where it is located. A cleanout is a capped pipe — usually found near the foundation exterior, in the basement, or sometimes in the yard — that gives direct access to the main line without removing a toilet. If there is no accessible cleanout, the technician will remove a toilet to access the line from below. Either way, the approach is the same: get the camera to the main line and run it toward the municipal connection. You do not need to do anything to prepare beyond keeping the area around the cleanout or toilet accessible.
During the Inspection
Once the camera is in the line, the technician feeds the cable forward while watching the monitor. As the camera travels through the pipe, you will see the live feed — if you want to watch alongside the technician, most are happy to walk you through what you are seeing. The camera head contains a radio transmitter; the technician uses a handheld locating device at the surface to pinpoint the above-ground position and depth of the camera at any point during the run. When a problem area is identified — root intrusion, a crack, a belly, a grease-coated section — the technician stops, locates the position, and records it. The full run is recorded on video so you have a permanent record of what was found.
What the Camera May Find
- Root intrusion at pipe joints or cracks — even fine hair-roots that will grow into a full mass if untreated
- Grease coating or mineral scale narrowing the pipe interior — common in Denver-area homes given the region’s hard water
- Cracks, fractures, or crumbling pipe walls in older clay tile or cast iron lines
- Joint offsets from Colorado’s expansive clay soil shifting the pipe alignment
- Pipe bellies — low spots where solids accumulate rather than flowing through
- A clean, clear, well-functioning line — which is also a valuable finding
After the Inspection
The technician will walk you through the findings and explain what they mean in plain terms. If the line is in good shape, you get peace of mind and a baseline video record. If problems are found, the technician will explain the options: hydro jetting or cable cleaning for buildup and root masses, trenchless pipe lining for cracks and structural deterioration, or excavation for sections that cannot be rehabilitated in place. You will not be pressured into same-day decisions; the inspection itself is the information-gathering step, and any follow-up work is scheduled separately based on what you decide makes sense.
How Long Does It Take, and Is It Disruptive?
Most residential camera inspections take between 30 and 60 minutes depending on line length and accessibility. There is no digging involved, no significant cleanup required, and no extended disruption to your water service — the camera goes in and comes back out, and you have your results. If a toilet was removed for access, the technician resets it before leaving. The video recording is yours to keep as documentation — particularly useful for real estate transactions, insurance purposes, or as a before-and-after reference if repair work follows.
To schedule a sewer camera inspection with Done, or to learn more about what the inspection process covers, visit our drains and sewer services page. We serve homeowners across the Denver and Front Range metro.