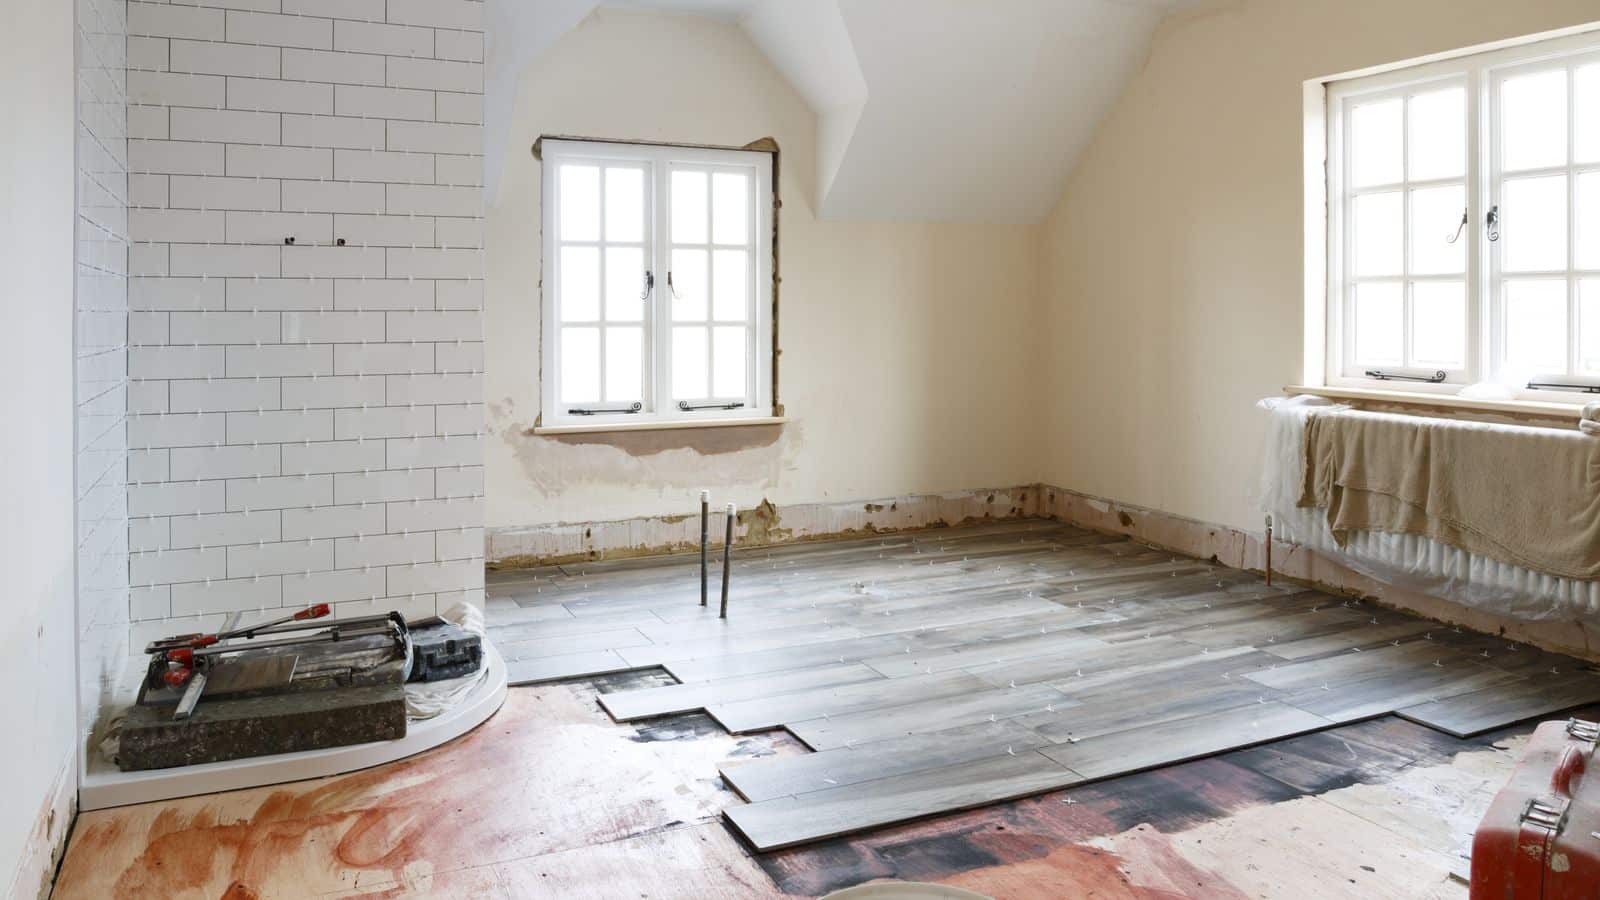
When you have a leaky faucet it can be easy to ignore, but water going down the drain is costing you money with every drip. Faucet leaks are some of the most common plumbing repairs in your home and not hard to fix on your own. As plumber who has installed a number of sinks, I’ve put together a few steps to take to stop the drip.
How to Fix a Dripping Faucet:
Prepare Your Faucet
The first step to stopping the leak is to turn off the water that feeds directly into the faucet. Most faucets will have a local valve that you can close, but sometimes you’ll have to turn off the main water supply to the entire home. Once you have the water turned off, be sure to plug the sink drain with cloth or a small filter to catch any pieces that might fall down the drain while performing the fix. Also make sure you have a clean space for all of your parts and tools to help stay organized when it’s time to reassemble.
Identify Your Sink
The next step is to identify your sink. The four main types used in residential properties: compression, ball type, ceramic disk and cartridge. It’s important to know what kind of parts you’ll need. The ball type, ceramic disk, and cartridge type all have neoprene seals or O-rings to seal the valves while compression types use rubber washers.
Disassemble Your Sink
After you figure out what kind of sink you have, you’ll need to take it apart. You can disassemble many sinks by locating the tiny screws in the back or underside of the handle or handles. Sometimes these screws are underneath the small decorative pieces on the handles, and can be found by removing those pieces. After removing the handles, unscrew the nut and remove the stem of the sink. Make sure all of these pieces are in good shape as you set them to the side, and plan on replacing them if they aren’t.
Check the Washer or Seal, and Replace if Necessary
Once you disassemble your faucet, the first thing to check is the washer, O-ring, or seal on the valve seat. A worn out washer or other seal can cause the drip. I can’t stress enough that the replacement has to exactly match the original for it to create an effective seal and prevent leaking. I recommend that you take the old one to the hardware store to get the right part.
Reassemble and Test the Faucet
Once you’ve replaced the washer or O-ring, reassemble your faucet, taking care not to damage the pieces. Be sure the nut is tight. When the faucet is put back together, turn the water source back on and slowly turn your faucet on and off. If the dripping has stopped, you’re done! If not, there may be a different problem.
Replace the Valve Seat
One possible alternative cause to the drip is that your valve seat is malfunctioning. You may need to replace or repair the valve seat to stop the leak using a tool called a seat wrench. Follow the same steps to take apart the faucet, but this time replace the valve seat with an exact match. For a few diagrams of what a valve seat actually is and where it is located, look here. Once the new valve seat is installed, try the faucet again.
Replace the Faucet
If neither of these replacements stops your sink from leaking, you have the option of replacing the entire unit with a new one, or seeking professional plumbing help. If you choose to replace the faucet, follow all of the steps above, but this time remove the entire faucet. Be sure all of the connections are clean and are not corroded before installing the new faucet.
Alternatively, give Done Plumbing, Heating, Cooling & Electric call and we will help you figure out what’s happening.