Dealing with a jammed garbage disposal can be a daunting kitchen dilemma. Not only does it disrupt your daily chores, but it can also lead to a messy and possibly hazardous situation if not addressed promptly. Fortunately, resetting and unjamming your garbage disposal is not as complicated as it seems. In this blog post, we’ll walk you through the essential steps to safely and effectively get your disposal back in working order. Whether you’re a seasoned DIYer or a first-timer, our straightforward guide will help you tackle the task with confidence, ensuring your kitchen’s centerpiece is functioning smoothly once again.
Read the full video transcript
(0:15) Hey guys, my name is Jamey with Done Plumbing and Heating, and today I’ll show you how to unjam and reset your garbage disposal. (0:19) To begin, we want to make sure your switch by the sink is turned off and your appliances are unplugged. (0:24) This will prevent any bodily harm to you or anyone around. If your disposal is hardwired, make sure to turn it off at the breaker panel. (0:29) We want to ensure your blades are not jammed by debris. Remember, never stick your hands down a garbage disposal.
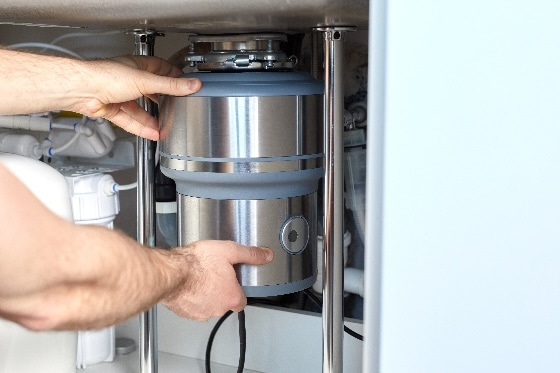
(0:34) What you want to do is manually rotate the blades in your garbage disposal by inserting an Allen wrench, (0:38) typically a quarter inch in size, in the base of your disposal. (0:43) With your Allen wrench, do two full rotations to the left and two full rotations to the right. (0:47) If your wrench is difficult to turn, make sure you alternate left and right until it becomes unjammed. (0:50) Once this step is completed, remove your Allen wrench.
(0:55) Restore power back to your garbage disposal and check to see if this fixed the issue. (1:00) If your disposal is still not working, then it’s time to check the internal breaker. (1:04) Once again, ensure the disposal is turned off at the switch, locate the red button at the bottom of the disposal. (1:09) If the internal breaker has been tripped, the red button will be exposed about 1/4 inch. (1:12) To reset it, simply push it back in.
(1:15) Now it’s time to test your unit. Hopefully, one of these two steps resolved your issues, and that’s a job well done. (1:20) But if not, it’s time to call a professional.


